


How to Fix the Drive Belt for a Dryer With a Drum Not Spinning
The drive belt is a common cause of a dryer failing to spin or turn. The belt connects the motor to the drum and helps turn it. Over time, the belt can become frayed or even torn, which causes it to lose tension and maybe even slip off the drum. If this happens, the drum will no longer rotate. The good news is, we’ve got step-by-step instructions for you on how to access the belt, inspect it, and replace it if need be!
How to Troubleshoot a Drive Belt for a Dryer With a Drum Not Spinning
To determine whether the belt is causing your dryer to fail to spin, you can visually inspect it for signs of damage or wear. If the belt appears to be in good condition, you can try turning the drum with your hands to see if it turns freely. If it does, the problem may not be with the belt, but rather with another part of your dryer. However, if you have some difficulty turning the drum or notice visible signs of wear, it’s important to replace it as soon as you can to prevent further damage to your dryer.
What is a Drive Belt?
The dryer drive belt is responsible for gripping the outside of the dryer drum and spinning the dryer drum when the motor is running to allow the hot air to dry your clothes. The drive belt is vulnerable to wear and tear, and if it is damaged, it may cause the drum to not spin at all. In this case, you may hear the motor running, but the drum will not rotate. This means clothes won’t dry even if the dryer’s heater and electric motor continue to function. Further, the belt may slip off the drum if the drum has been overloaded with clothes over a long period of time. Depending on your dryer model, a loose or damaged drive belt may trigger a belt switch, which prevents the motor from running as well.
Where is the Drive Belt Located?
The dryer belt is fitted around the outside of the drum.
General Location of the Belt in a Dryer

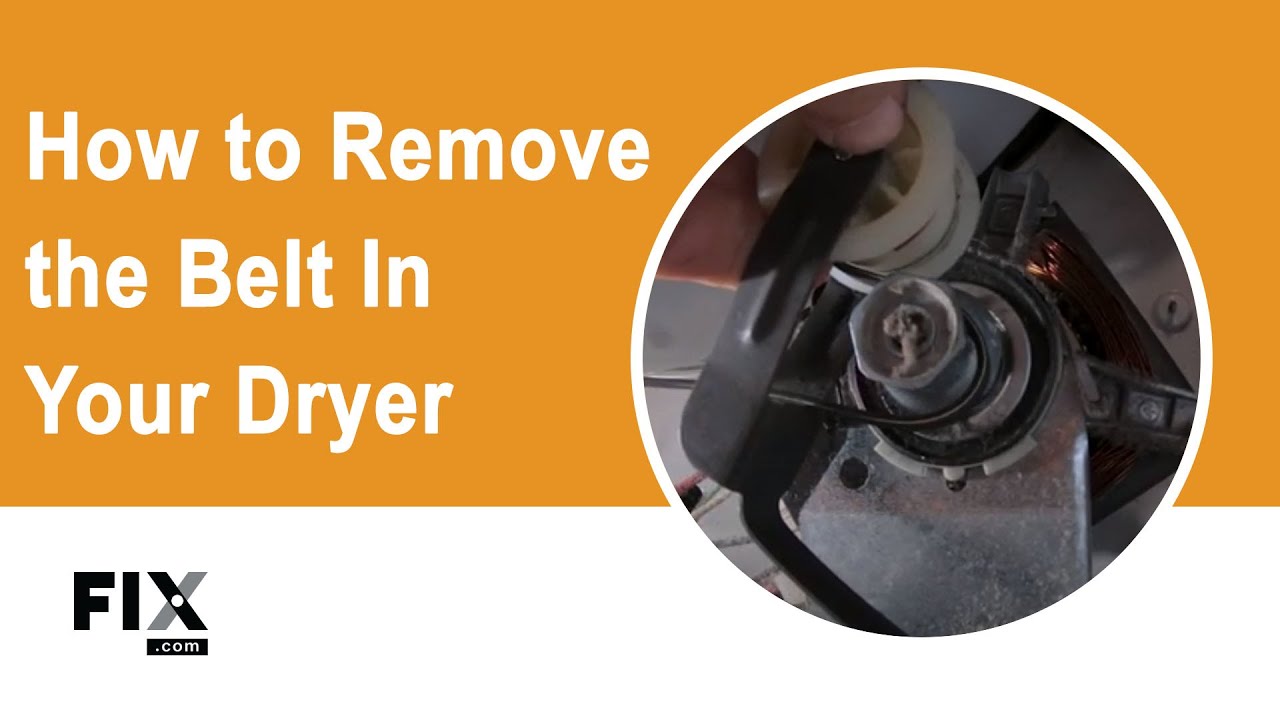
How to Access, Remove, and Inspect the Drive Belt in a Dryer
- As with all repairs, begin by unplugging the machine for your safety and ensure that the dryer drum is empty.
- You can easily check whether the belt is broken by opening the front door on your dryer and rotating the drum by hand. If possible, you can also lift the main top off your dryer and visually inspect the belt.
- To fully access the belt, remove the top and front panel of your dryer, and you will find the belt looped around the drum under the idler pulley wheel.
- Inspect the belt for any wear and tear and ensure that it is in the correct position and has not slipped off anywhere.
- If the belt is damaged or hanging loosely, you will need to replace it.
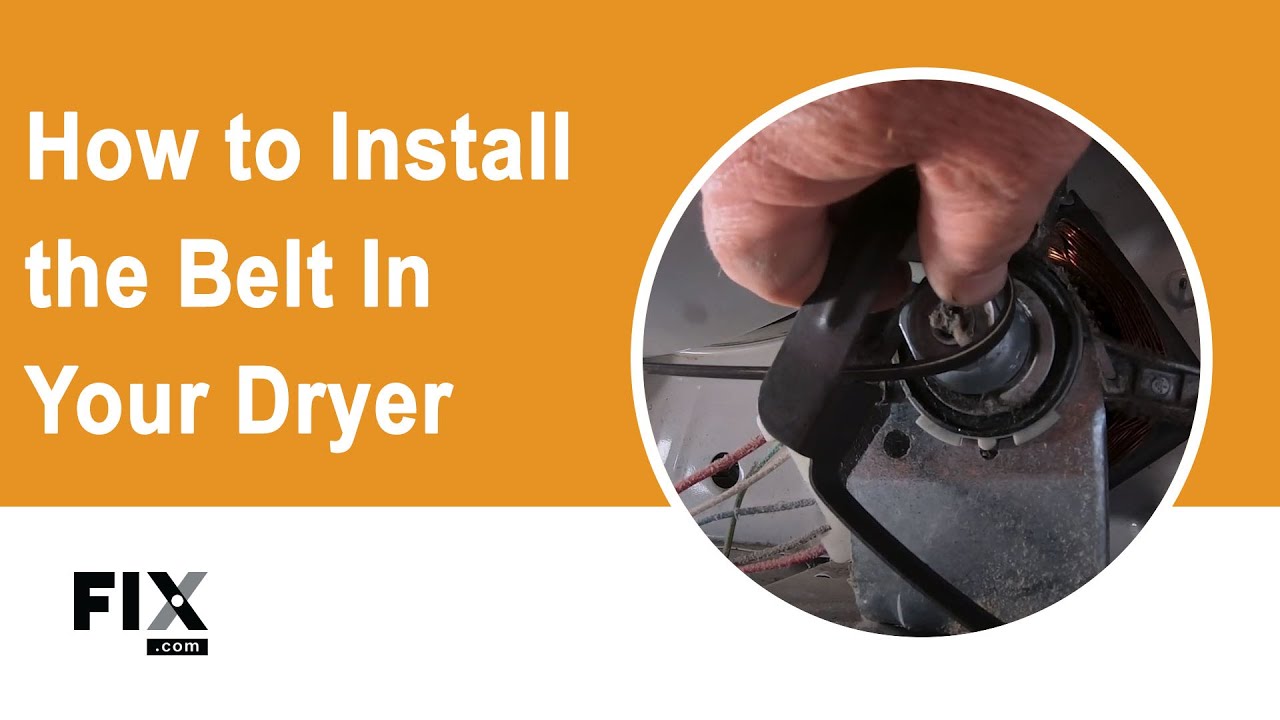
How to Install a New Drive Belt
- Check out “How to Access, Remove, and Inspect the Belt in a Dryer” for instructions on how to remove the drive belt.
- You will need a pair of pliers, a screwdriver, and a pair of safety gloves for this repair.
- With the top and front panel removed, locate the idler pulley inside the machine and press down on it to relieve the tension to release the belt.
- Once you have freed the belt, pull it off the drum and discard it.
- Take your new belt; one side is flat and the other is grooved. The grooved side lies on the drum and around the motor pulley, while the flat side lies on the idler pulley.
- Ensure there are no twists and that the belt fits well around the drum and motor pulley and over the idler pulley. You can spin the drum manually to ensure that it turns freely.
- Reinstall the front panel and reconnect the wires to the door switch.
- Place the main top back, plug in your machine, and your repair is complete!
Next: Troubleshooting the Idler Pulley
Go To Main Page: Drum Not Spinning