


How to Fix the High-Limit Thermostat for a Dryer That's Not Heating
If your dryer is not heating up, it could be an indication of an issue with your dryer’s high-limit thermostat. This thermostat works with the circuitry and fuses within your dryer as a safety mechanism to avoid hazardous temperatures and prevent excess heat from damaging your clothes and your home. If this thermostat malfunctions or is triggered by the high heat it is designed to detect, it can prevent the heating element from operating properly. When this happens, the circuitry opens and restricts complete functionality. If the high-limit thermostat is damaged, it’s important to replace it as soon as possible. We've put together this repair guide to help you diagnose, inspect, and replace your high-limit thermostat, with instructional videos, 3D diagrams, and more!
What is a High-Limit Thermostat?
A high-limit thermostat is a device within your dryer that regulates the temperature in case of extreme heat. These thermostats normally reset at a certain point, but certain models do not.
Where is the High-Limit Thermostat Located?
The high-limit thermostat is normally located near the blower housing of your dryer, but the precise location can vary from model to model, so check any available manuals and the general 3D diagram below if you need further help.
General Location of the High-Limit Thermostat in a Dryer

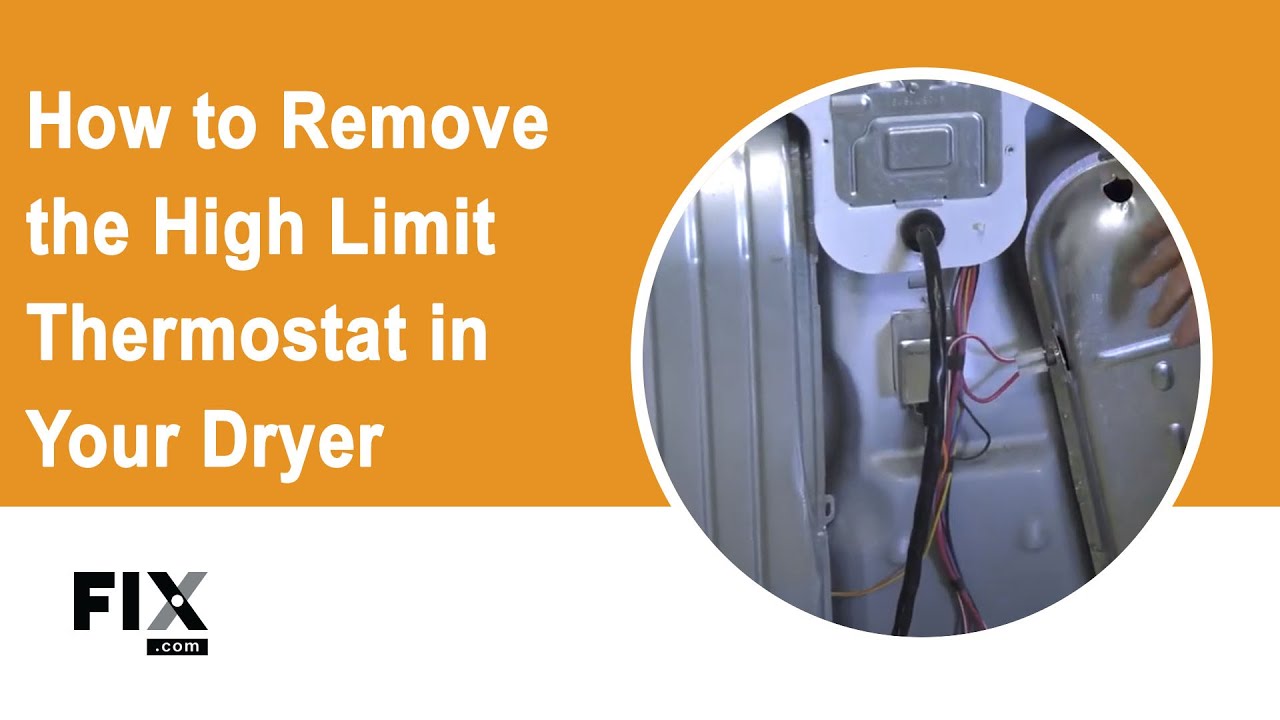
How to Access, Remove, and Inspect the High-Limit Thermostat in a Dryer
- You’ll need to remove the lint filter first – its location will depend on your dryer model. After doing that, you can likely unscrew and remove the top panel. For this step, you might also need a putty knife to pry certain sections of the top-panel off.
- Once the top panel is removed, you can disconnect any wire harnesses connecting the control board throughout your dryer.
- Remove the door by unscrewing it from the front of the dryer frame.
- You can now unscrew any screws holding the front of the cabinet frame to the rest of the cabinet. Once that is done, it can be removed. Pay attention to any cables or wires that are connected and take photos so that you can see how and where they all go.
- Disconnect and remove any cables or wires in the front of the dryer.
- Disconnect the screws for the lint duct and remove it from the dryer.
- Remove any securing screws at the front and frame plate of the cabinet to be able to disconnect these from the cabinet. Be cautious of any wires that are connected to these parts.
- Disengage the idler pulley by reaching in and pushing it to the left/right, then carefully remove the belt to disengage it.
- The belt should now be loose – so you can remove it.
- You can now remove the drum of your dryer, but be mindful of which way the baffles face for when you reinstall it.
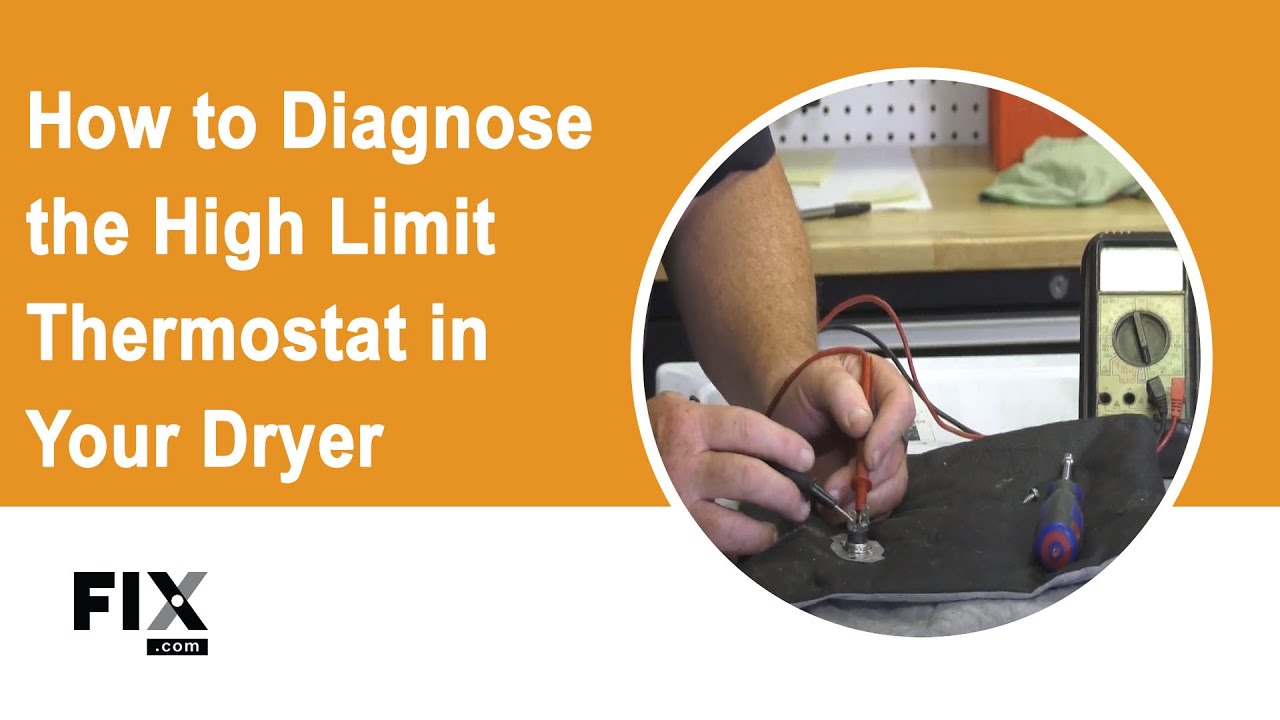
How to Test the High-Limit Thermostat
To test your high-limit thermostat for complete functionality, you’ll want to check it for continuity using a multimeter.
- Set your multimeter to continuity mode.
- Using the two probes from the multimeter, touch one to each side of the thermostat’s terminals.
- If there aren’t any visual or audible indications of continuity when touching those terminals, it’s likely that your high-limit thermostat is bad and needs replacing.
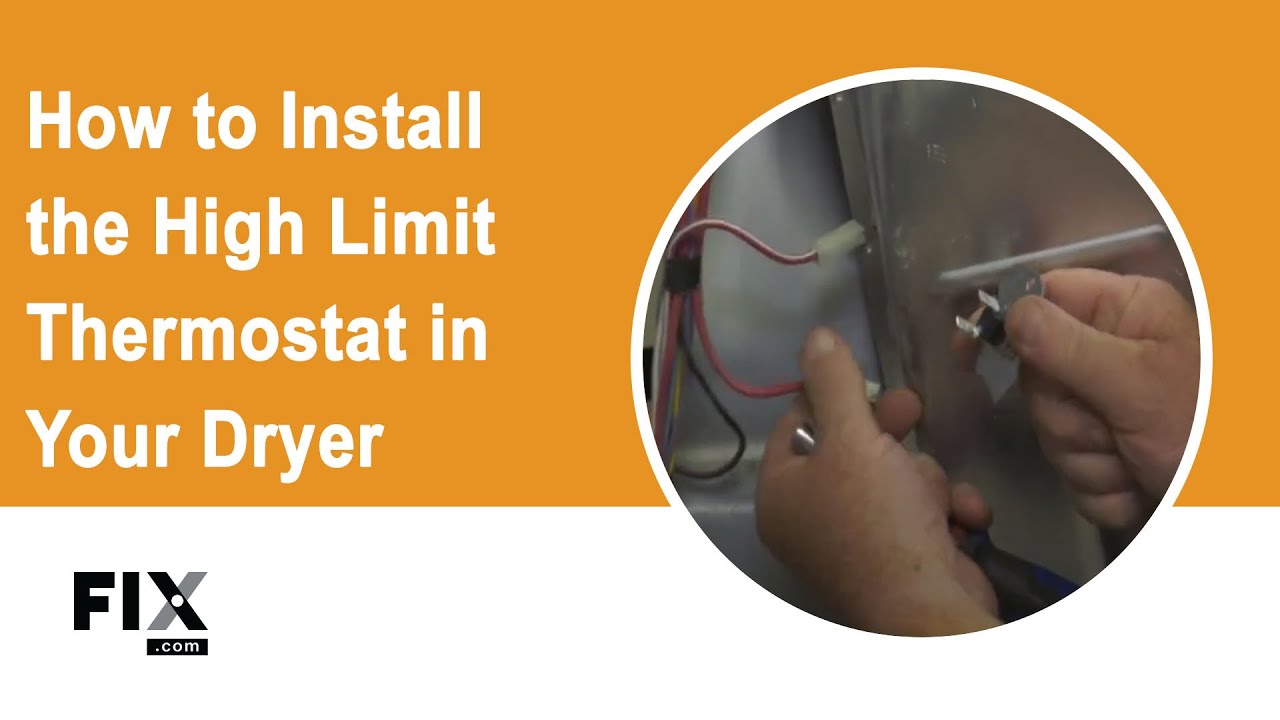
How to Install a New High-Limit Thermostat
- Put your new thermostat into place and screw in the securing screws back onto your new thermostat.
- Install the inner tub with the baffles facing the correct way.
- Reinstall the belt around the inner -tub, and engage it with the idler pulley.
- Secure the frame plate, wires, and front portion of the dryer with any securing screws.
- Insert the lint duct and secure it with its screws.
- Reconnect any wires at the front of the dryer.
- Connect any screws that hold the front frame to the rest of the dryer cabinet.
- Screw the doorframe back to the dryer cabinet.
- Secure the top panel back onto the dryer, using any screws you previously removed.
- Reinsert the lint filter, and your repair is now complete!
Next: Troubleshooting the Thermal Fuse
Go To Main Page: Not Heating